XPACS Advanced Configuration Guide
These portal modules are optional. Enable them on Configuration → Web (Show Roles, Show Workspaces, Show Destinations). See also the Configuration Guide.
Roles
When Show Roles is on, managers and administrators can open the Roles page. A role is a named set of permissions that can be assigned to users.
Click New or Edit, enter Name, and set the same permission checkboxes used on users (Upload, Download, View, Edit, Delete, Send, Move). Click Submit to save, or Delete to remove the role.
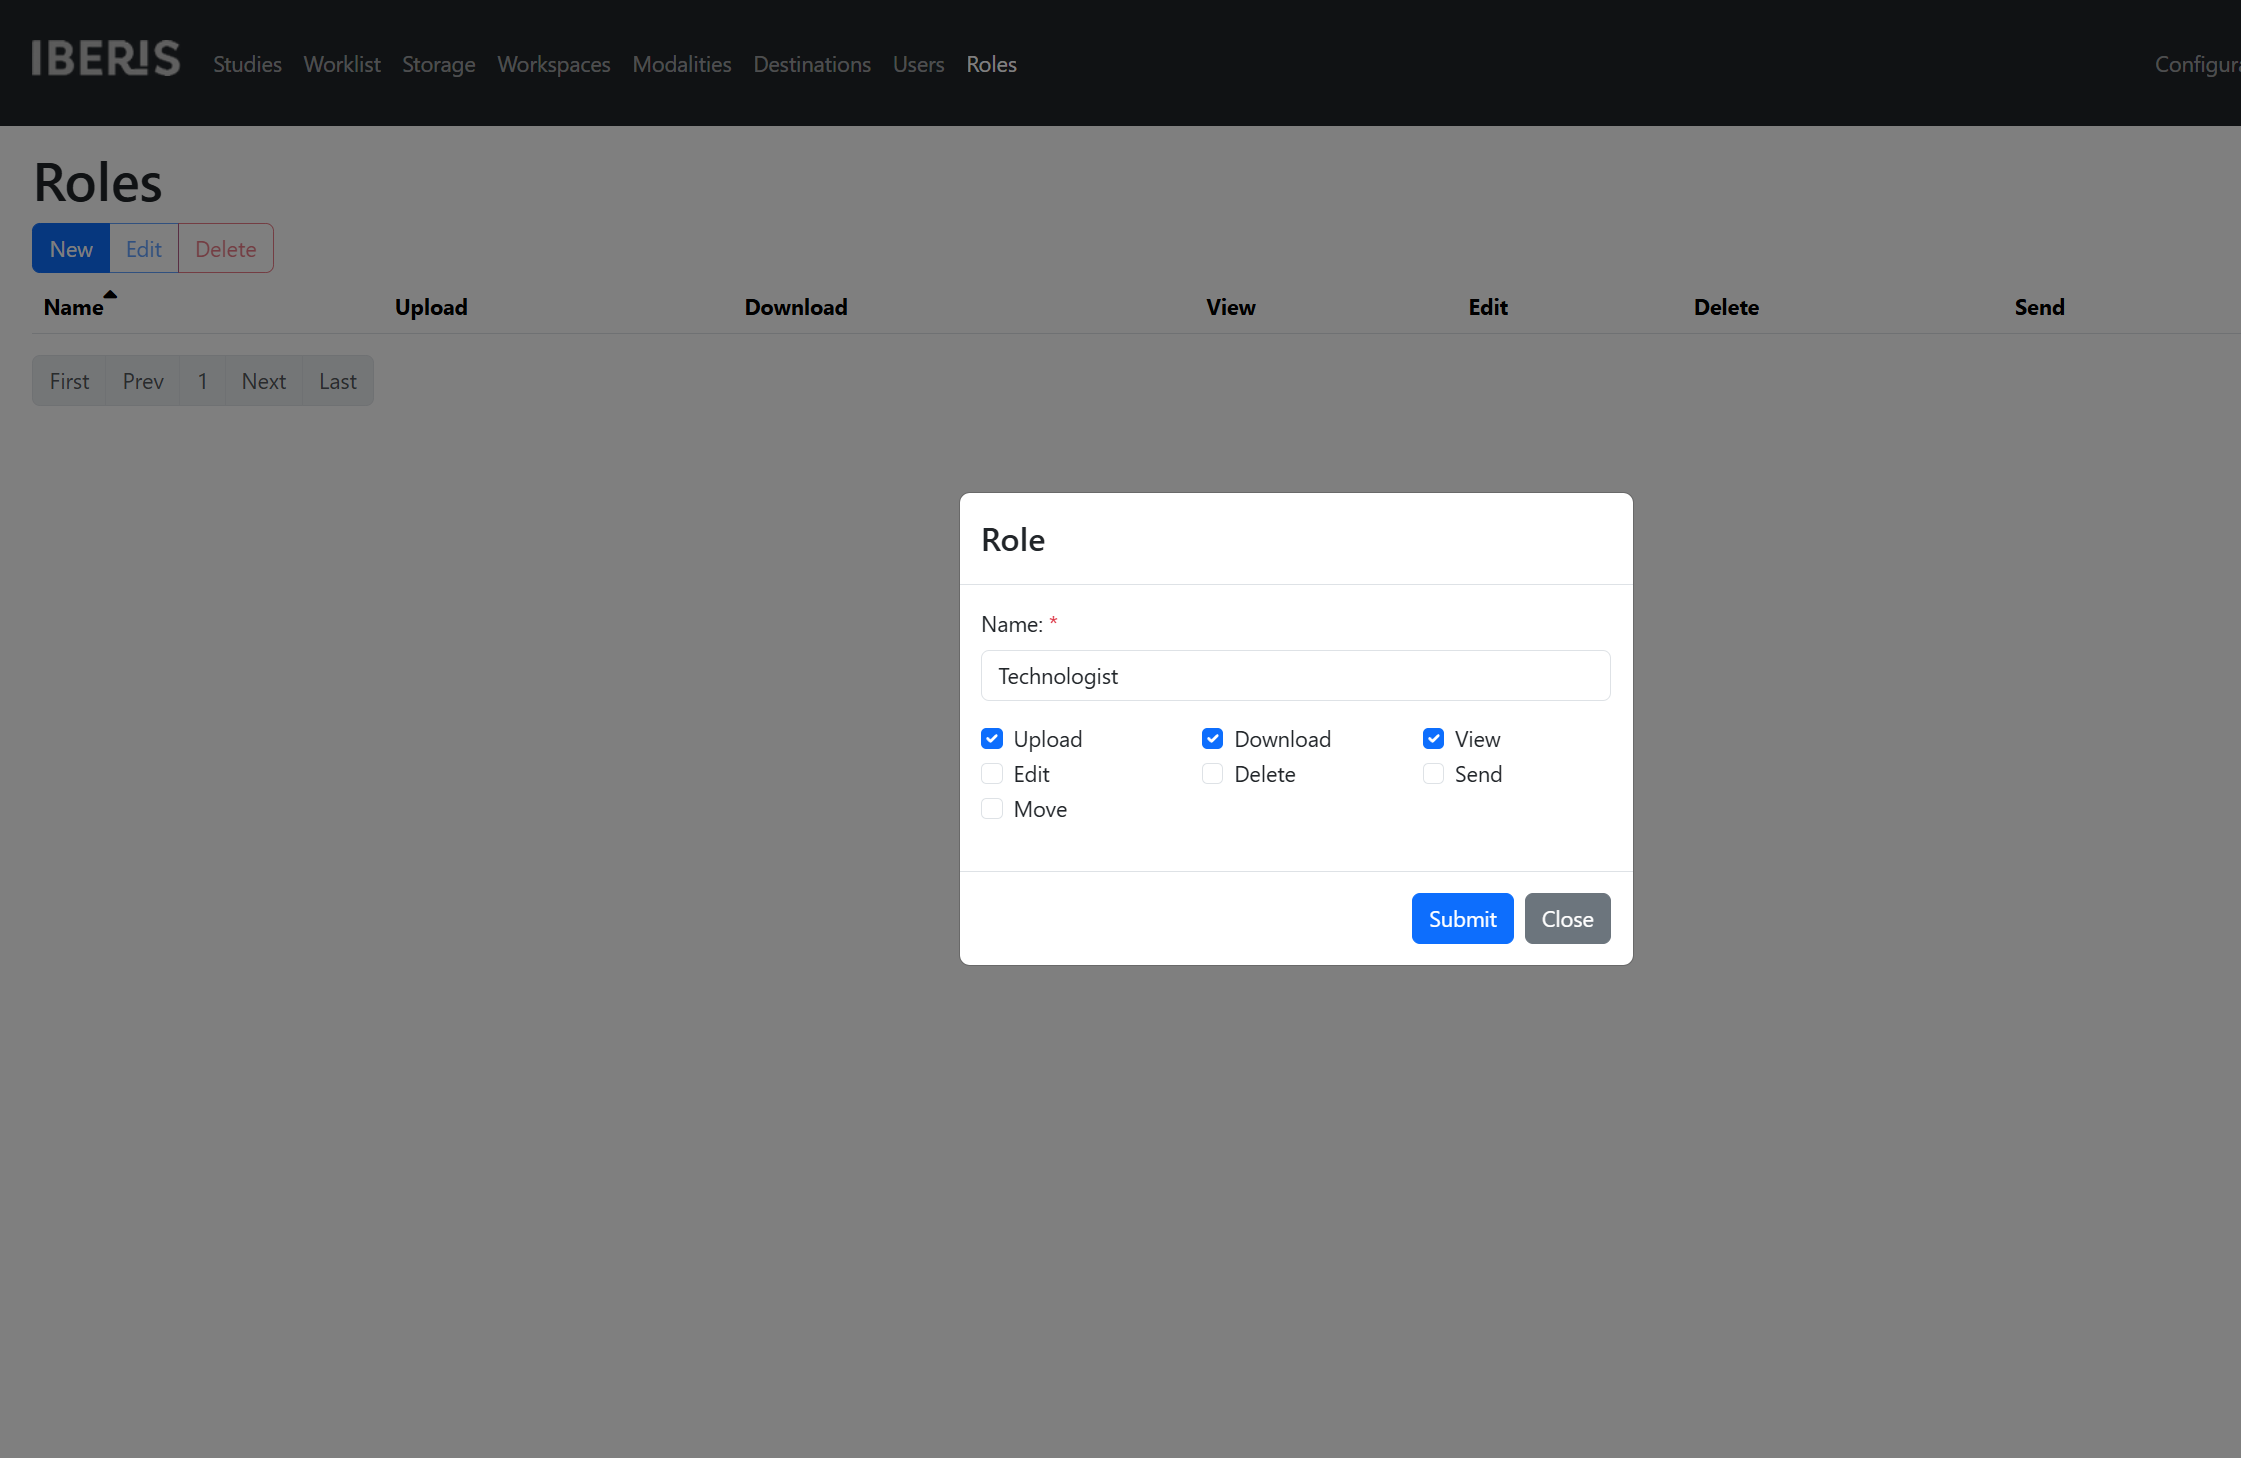
On the Users page, when Show Roles is on, the user dialog includes an optional Role dropdown. Effective permissions for a user are the combination of the user’s own permission checkboxes and the assigned role (administrators always have full access; permissions do not apply to them).
Workspaces
When Show Workspaces is on, administrators can open the Workspaces page. Workspaces partition studies and other resources to restrict their visibility.
Click New or Edit, enter Name, and optionally enable Default (used when no matching rule assigns a study) and Read Only (excluded from automatic assignment). Click Submit to save, or Delete to remove the workspace. A workspace that is the only workspace on a study cannot be deleted.
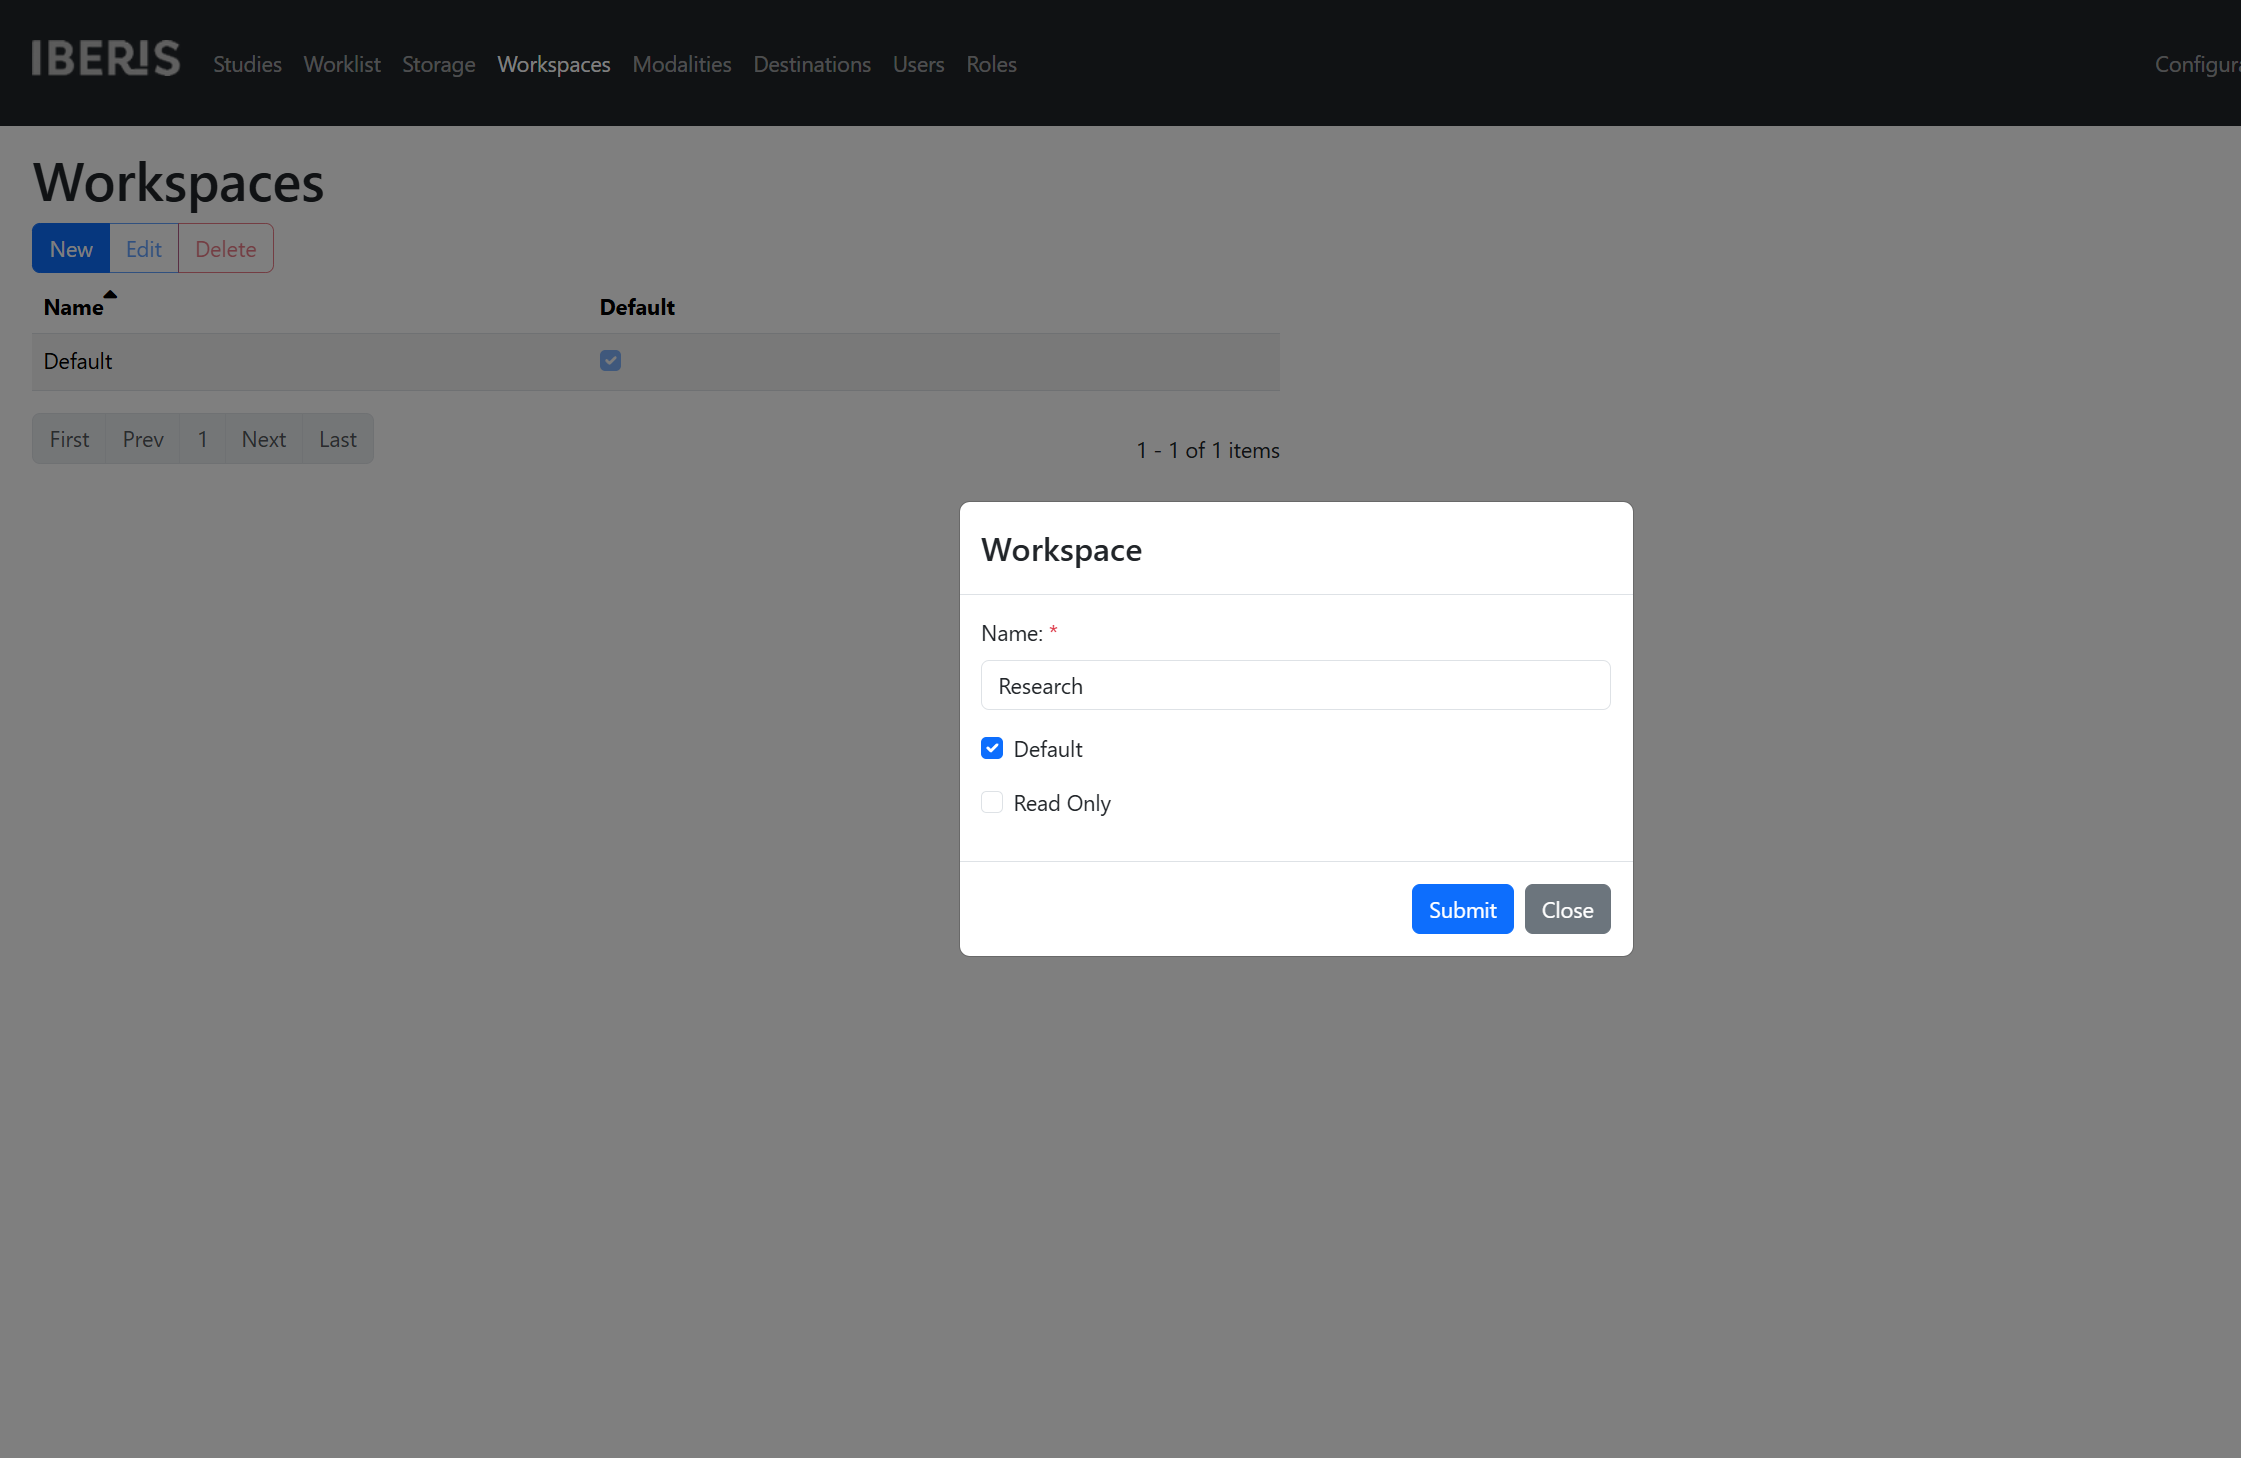
On the Users page, assign workspaces so that non-administrators see only studies/destinations in those workspaces.
Matching Rules
Select a workspace to edit its Matching Rules. Rules decide which workspace receives a study when files are stored. Rules with the same Group ID are combined with AND; different group IDs are combined with OR. Pattern supports wildcards (for example, *).
Click New or Edit, enter Tag (Hex) (eight hexadecimal digits for the DICOM tag), Pattern (default *), and Group ID (default 1). Click Submit to save, or Delete to remove the rule.
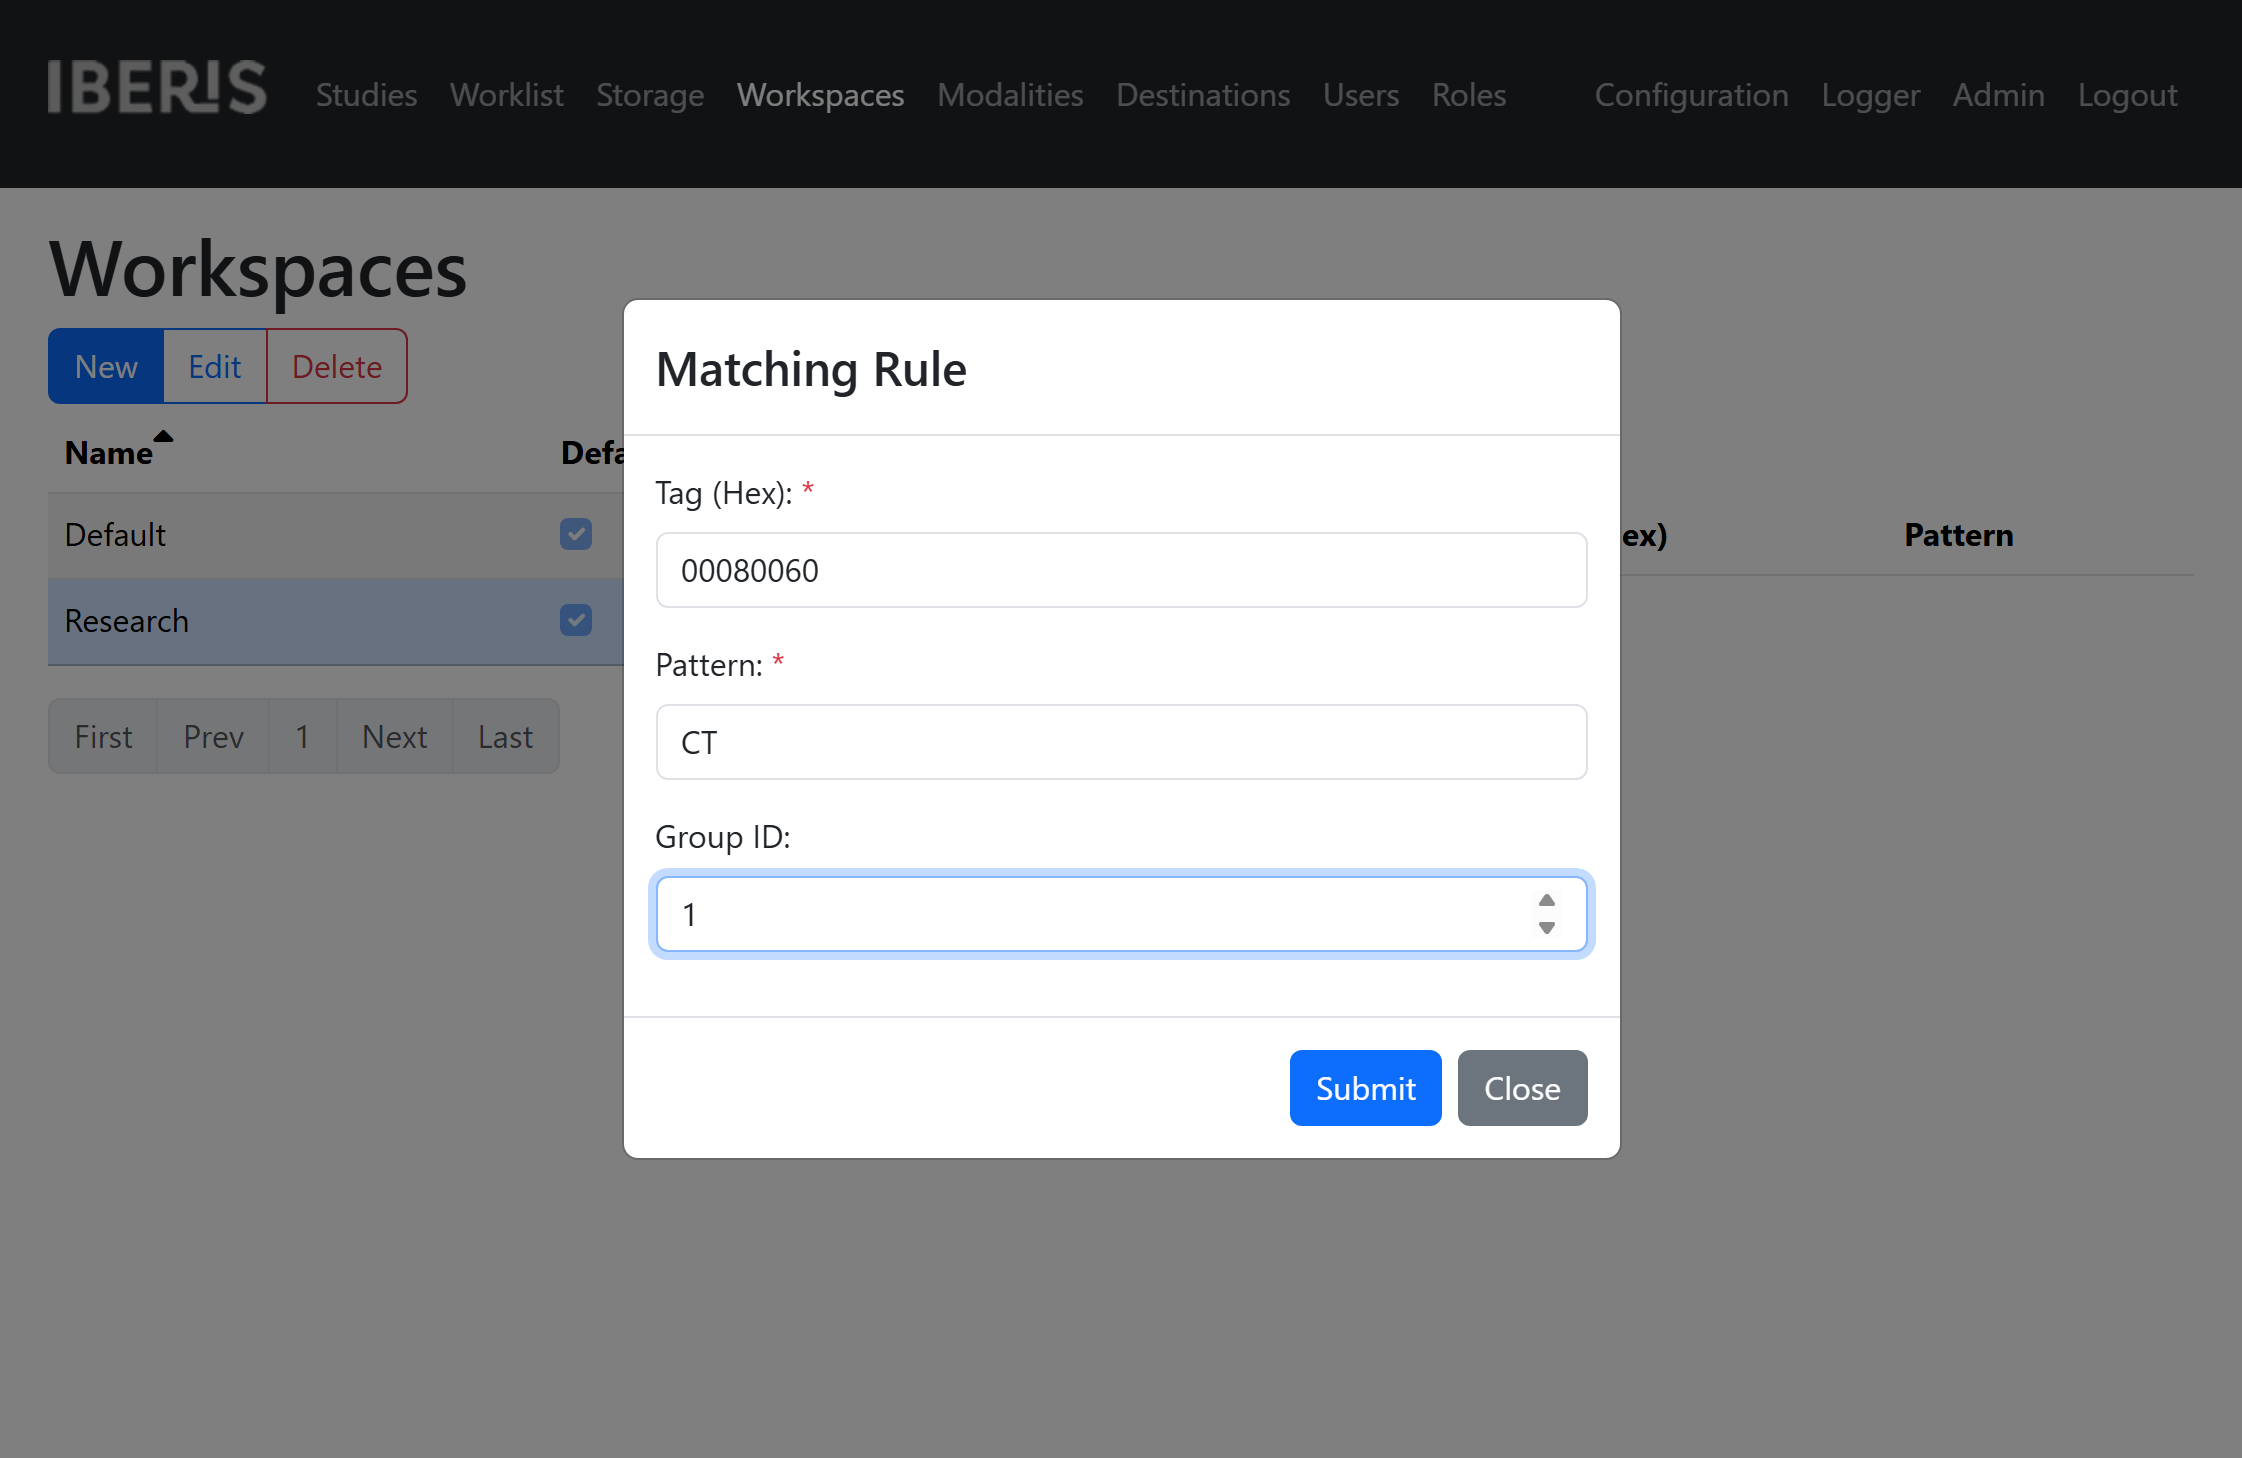
If no rule matches, XPACS assigns all workspaces marked Default. If there is no default workspace to assign, the store fails with an error.
Destinations
When Show Destinations is on, managers and administrators can open the Destinations page. Destinations are outbound C-STORE targets used by the Router by utilizing transfer jobs.
Click New or Edit, enter AE Title, Host, Port, and Router AE Title (calling AE title used by the Router when sending). Keep Active on for destinations that should be available for send and auto-routing. Optionally set Start Time and End Time for a send window. Enable Modality AE Titles to restrict auto-routing to selected source AE titles. When workspaces are enabled, select Workspaces so auto-routing requires a shared workspace with the study. Click Submit to save, or Delete to remove the destination. Use Verify to check that the destination is reachable.
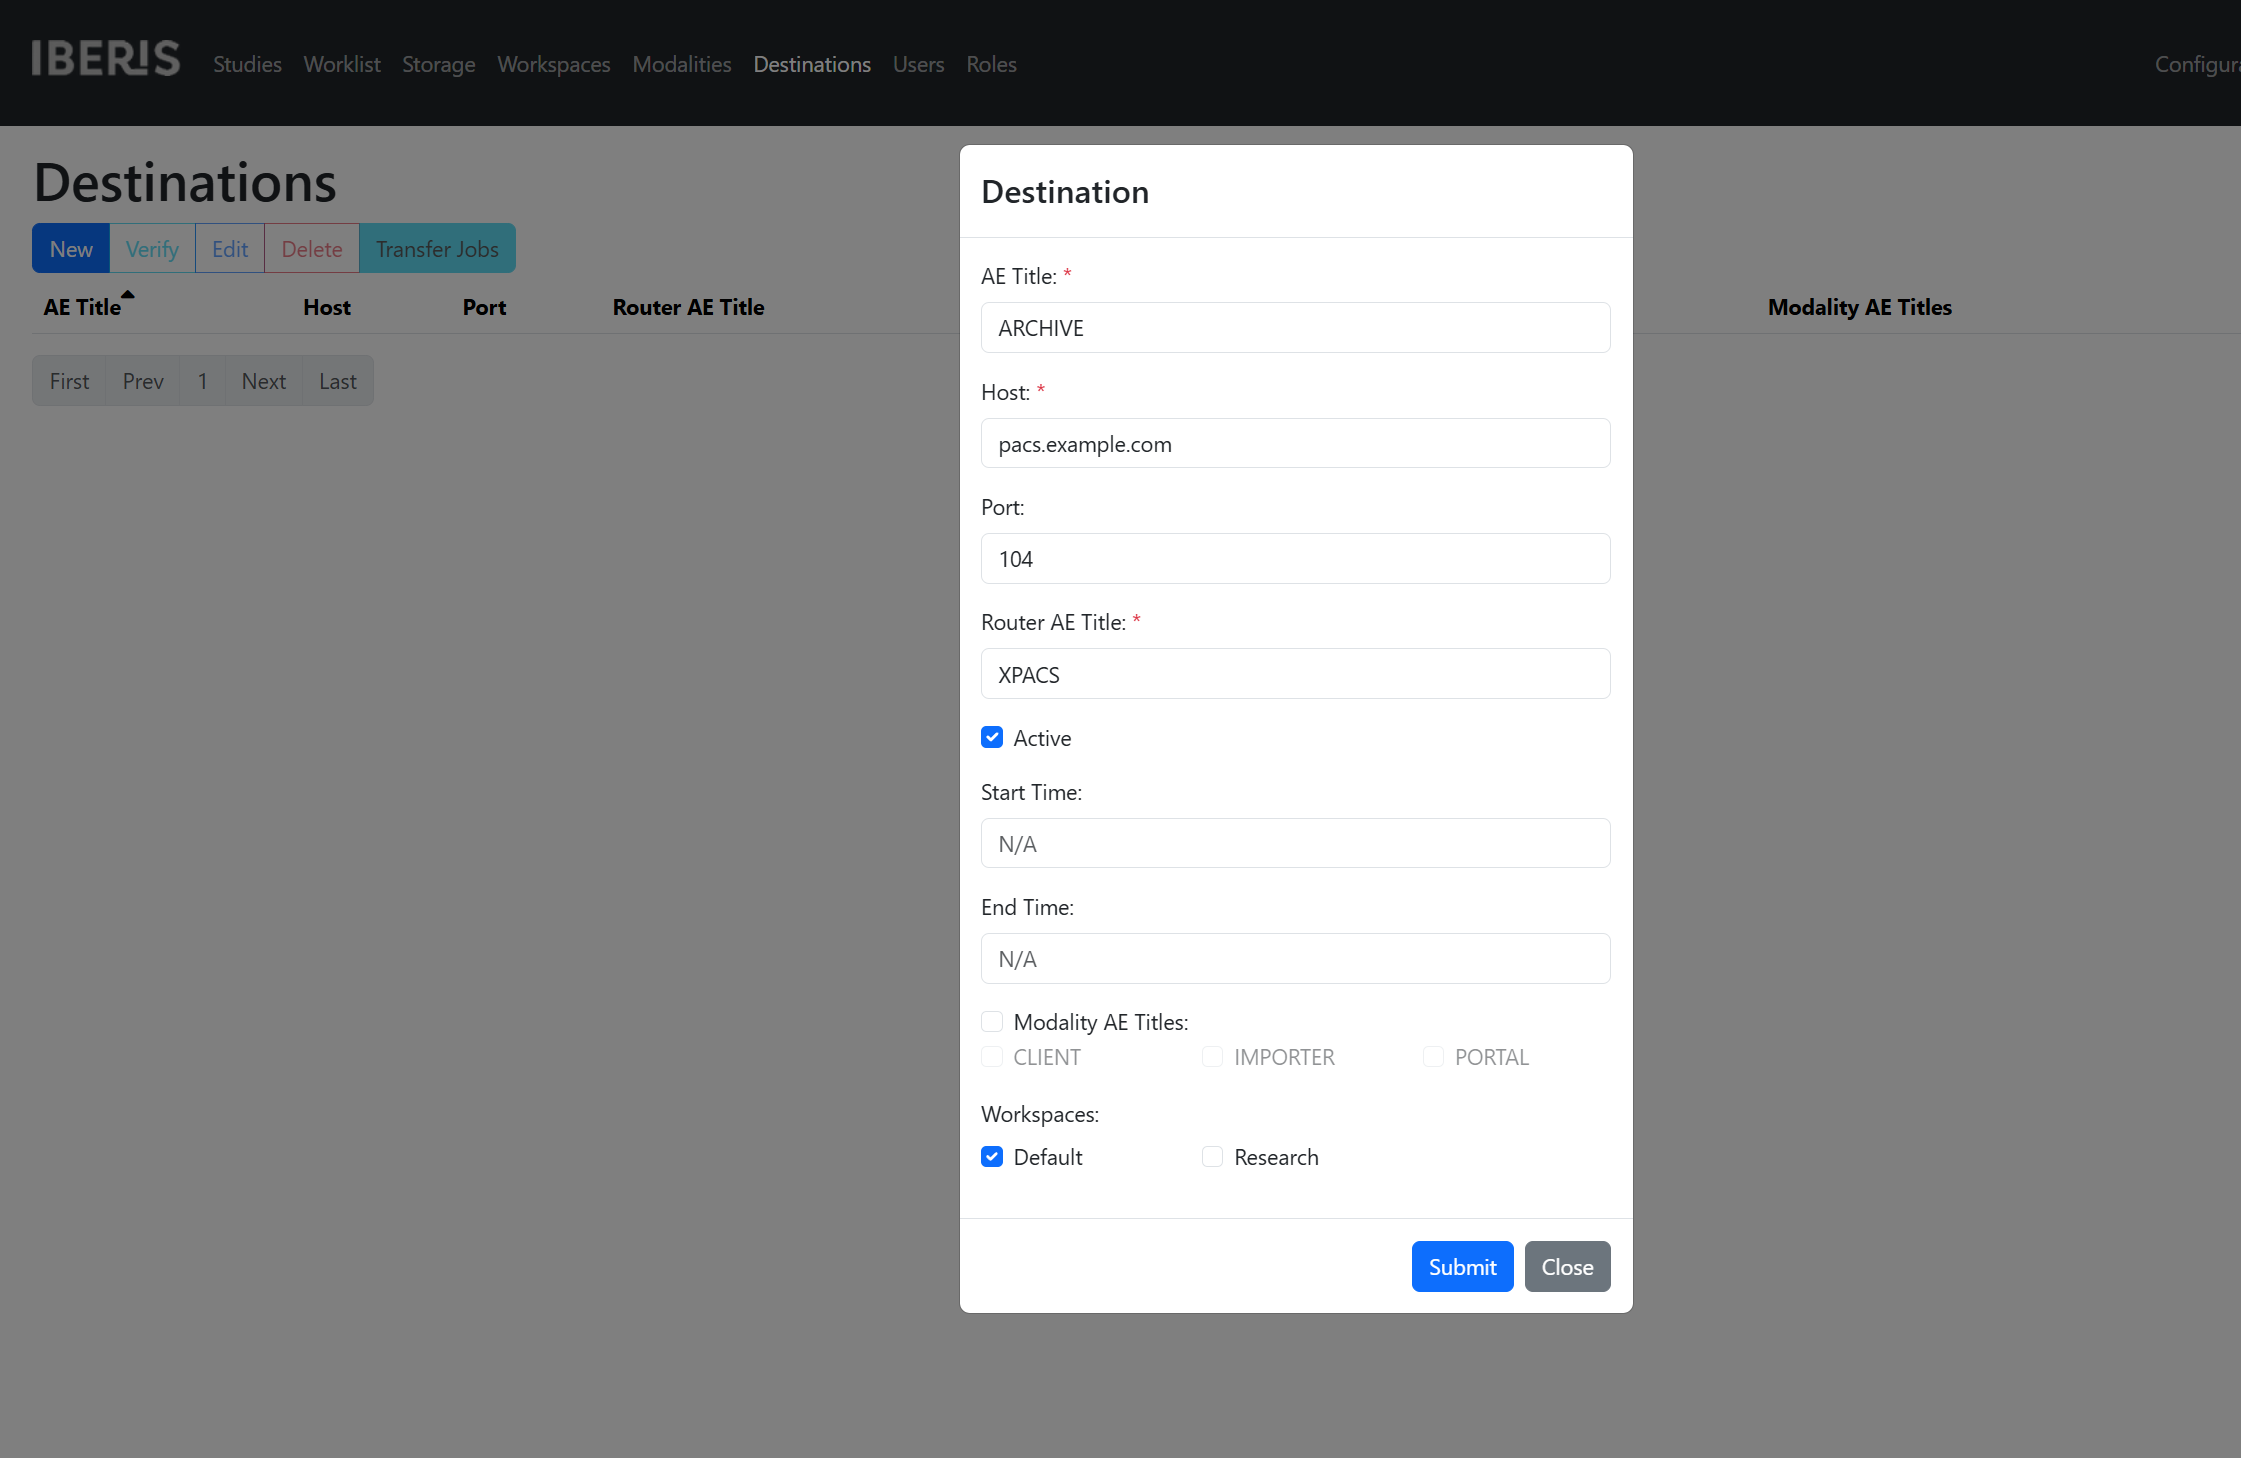
On store, XPACS can create transfer jobs for active destinations that match the optional modality AE filter, and (when workspaces are enabled) a shared workspace with the study. Outside the time window, jobs may still be queued; the Router processes pending jobs when the destination is scheduled.